Resources
Resources are similar to Experiments, but serve a different purpose: listing and organizing things that are used in Experiments.
Many of the options on the Resource entry are the same as those for an Experiment entry.
Resource Categories
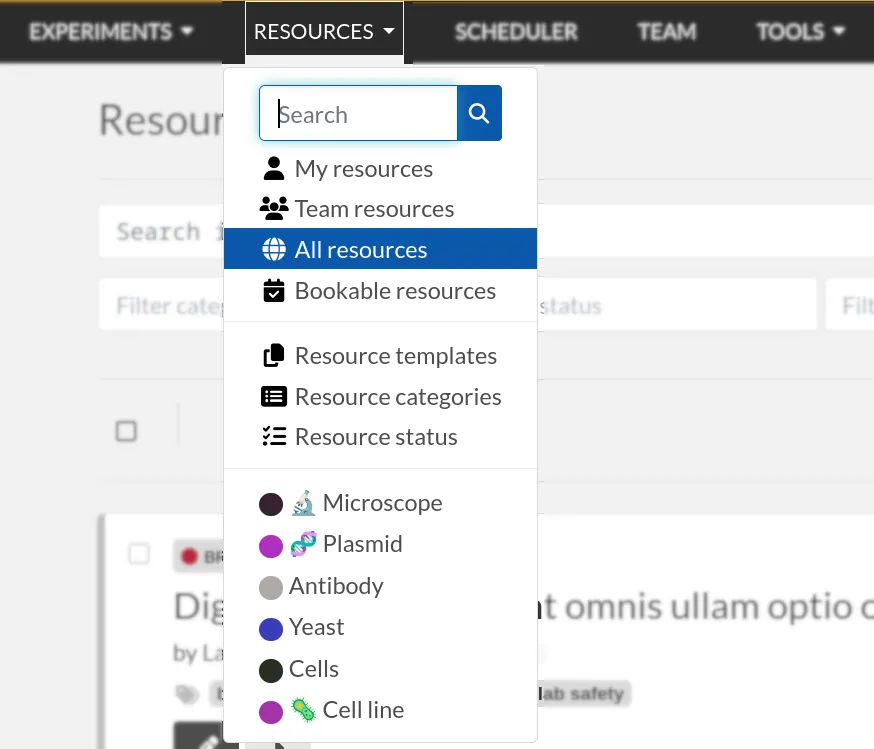
Resource Categories can be defined at the team level from the "Resource Categories" page available in the Resources dropdown menu. You can, for example, define categories such as:
- Antibodies
- Microscopes
- Plasmids
- Drugs
- Chemicals
- Equipment
- Projects
Once you have Resource Categories (which are composed of a name and a color), you can create a Resource Template with that category assigned. This allows you to have several Resource Templates for a given category.
For instance, in the Resource Category "Antibodies", you might want a Resource Template for "Primary Antibody" and one for "Secondary Antibody". It's also fine to keep a one-to-one relationship between Resource Templates and Resource Categories.
Resources default permissions allow anyone from the Team to edit them, but you are free to configure them differently from their Template.
Imports
Look at the Importing data section to learn how to import your Resources from a spreadsheet file or through the API.
Links
Once you have your Resources present, you can mention them in your Experiments by typing # and their title, and selecting the proposed autocompletion, or use directly the Link system to link them to an Experiment.
See Links section.
Furthermore, Resources can be made bookable, see section below.
Booking Resources
It is possible to use the scheduler (calendar) present on the Scheduler page to book Resources.
Making a Resource bookable
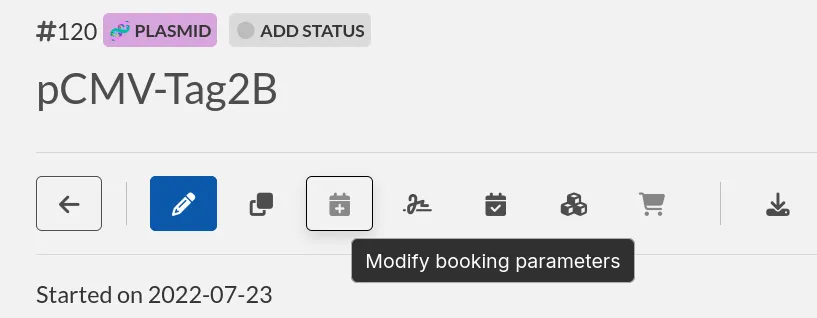
Resources are not bookable by default. To enable bookings for a resource, open the resource's page and click the Modify booking parameters button in the toolbar.
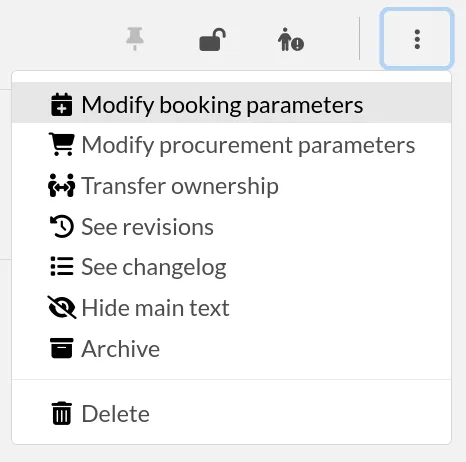
Once this parameter has been activated, clicking this same button will redirect you to the scheduler with the resource selected. If you wish to edit parameters later on, click on the top right menu with three vertical dots:
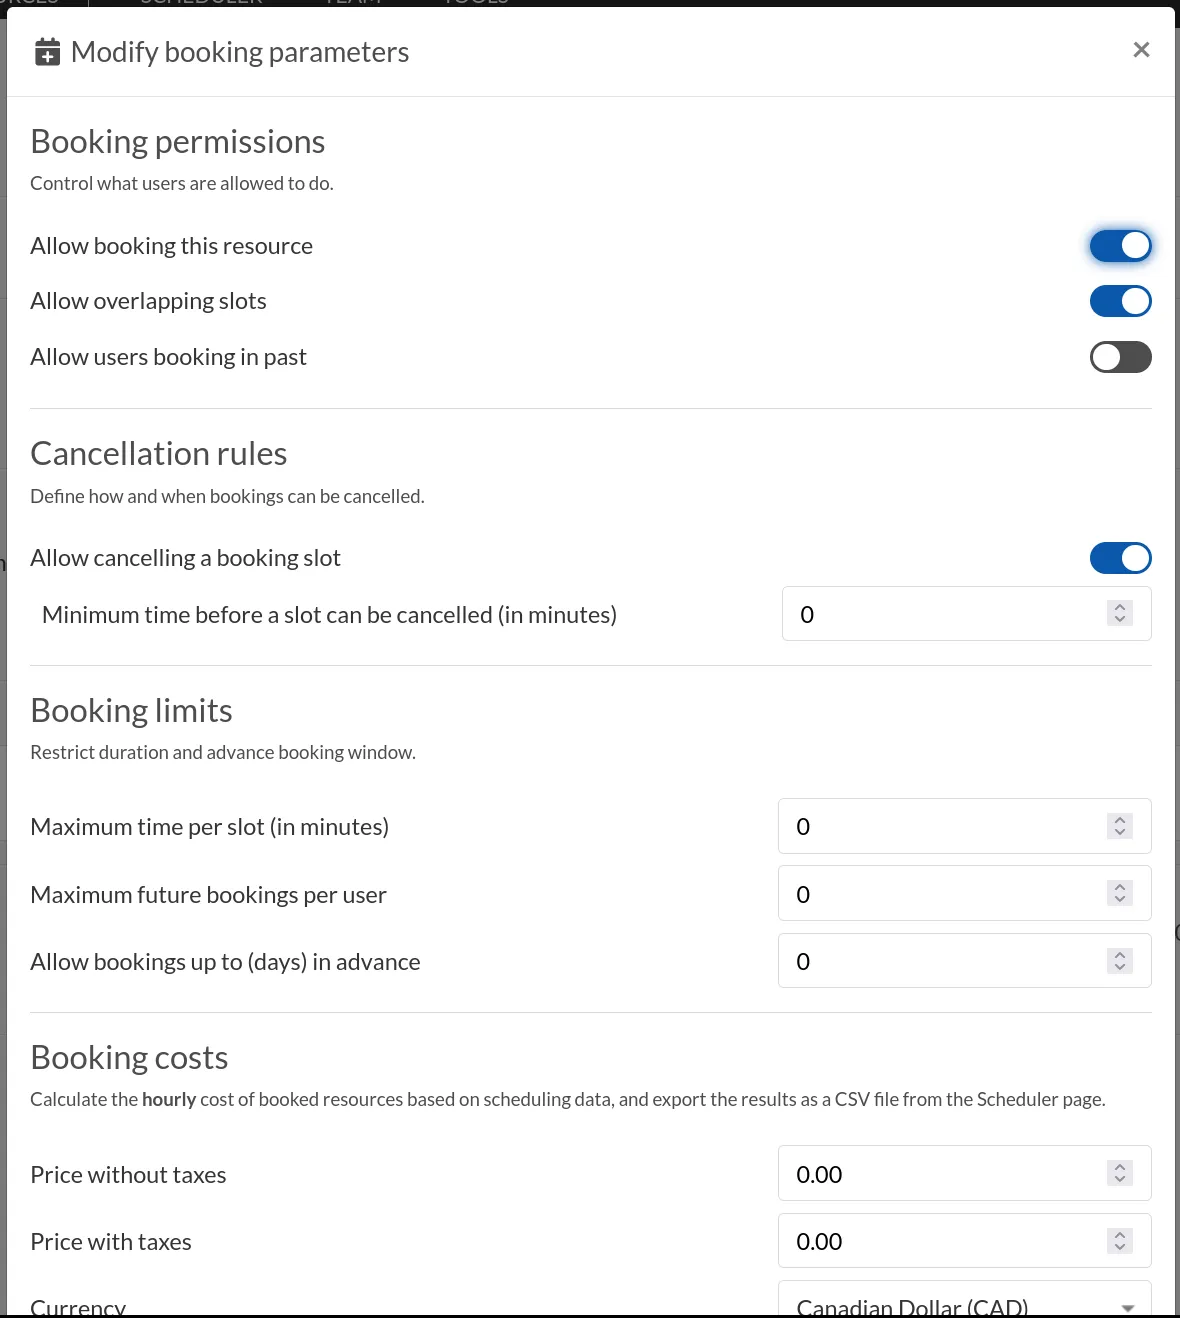
A modal with various settings opens:
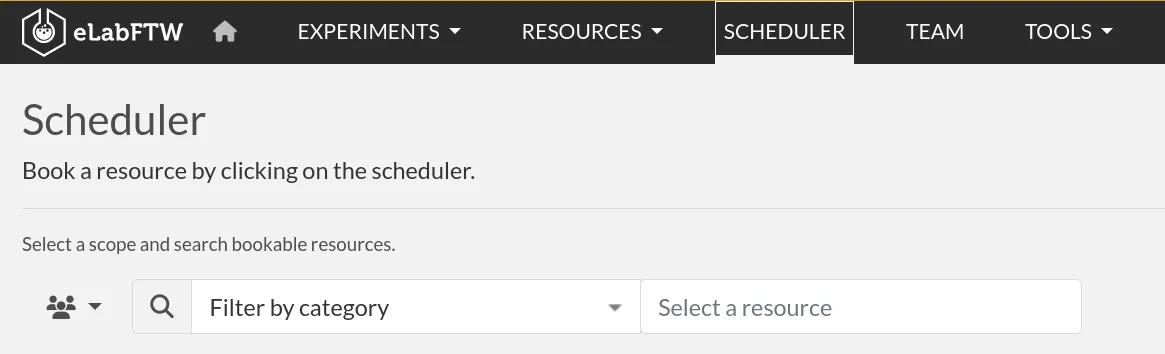
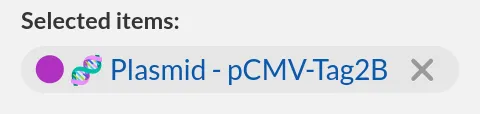
Once all is set, Users can click the Book item button in the toolbar, or select it from the Scheduler page, and click the calendar to drag a booking slot.

The scheduler page loads with the selected item:
You can now move on to the Scheduler section to see how to work with your events.
Making a Resource procurable
Resources are not procurable by default. To enable procurement for a resource, you must configure its procurement parameters.
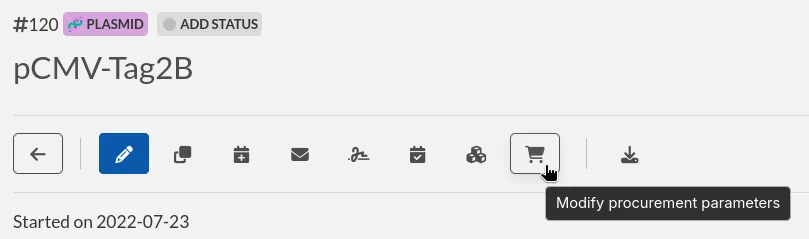
Open the resource you want to make procurable and click the Modify procurement parameters button in the toolbar.
In the dialog that opens, enable the procurement option and configure the available procurement settings as needed. Once saved, the resource will be available in the procurement system.
Once procurement is enabled, clicking the same button again will open the procurement modal, allowing you to place an order for the item.
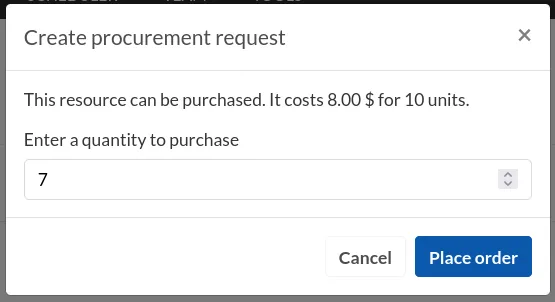
After an order is submitted, a confirmation message is displayed on the resource page to inform the requester that the procurement request has been recorded.

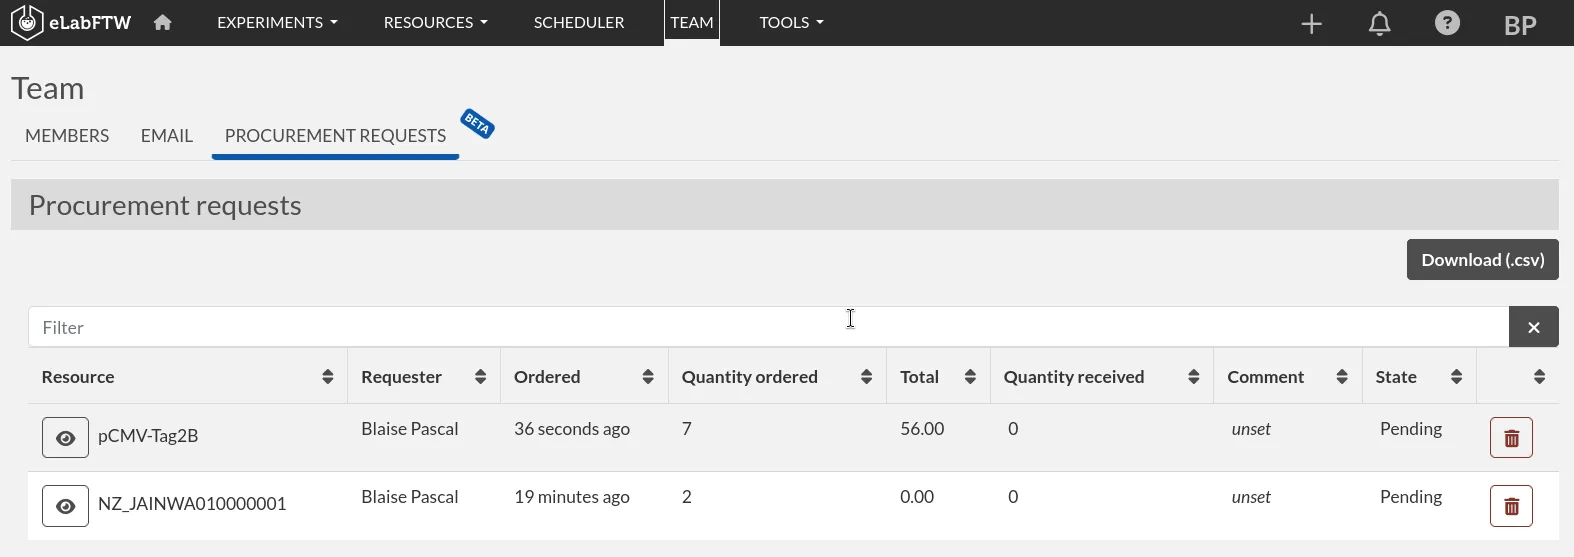
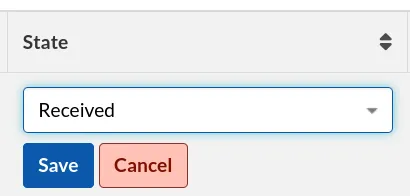
Procurement requests can then be managed from the Team page under the Procurement requests tab, where team members can review pending requests, track quantities, and update their status.